
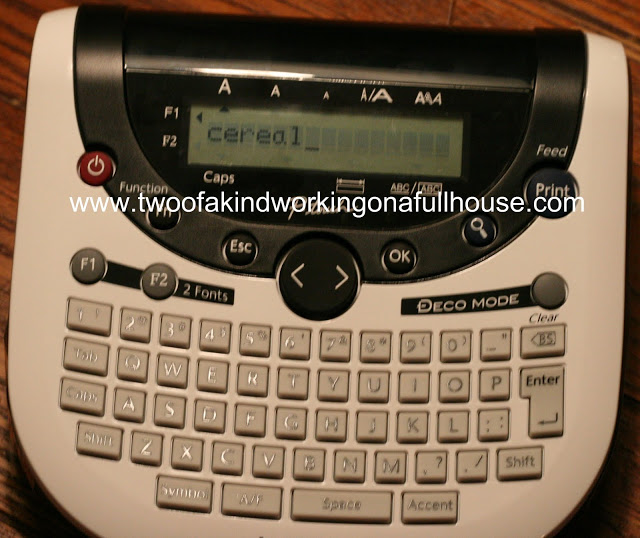
A few months ago, I posted about my Brother P-touch Label Maker Test Challenge. I put labels from the Brother P-Touch Label Maker through several different tests to see how well they would stand up. My next challenge was to tackle and organize my kitchen. The label maker required 6AAA batteries to get started and then I was on my way to a more organized kitchen. First, you go through several steps to determine the size and font of the label you want. Then, you type it in.
After you’ve done that, a label quickly prints off and is ready for you to use.

I had an extremely unorganized shelf in my pantry that housed the odd-sized snack bags, chips, cereal, and cookies. We were constantly throwing things away because they’d get lost in the shelf, lose their clips and go stale. I went out and bought a bunch of these awesome storage containers and filled them with chips, cereal,and other snacks. I then printed off labels so that we knew what to refill each container with after we ran out. Now, my bags of chips don’t get crushed, the cereal and snacks stay fresh, and we can easily see what we have available.

The Brotehr P-Touch Label Maker was extremely easy to use and gives a variety of choices in the size and font of the labels. My biggest issue is that it takes so many batteries. I feel like it should come with an AC adapter.
I wrote this review while participating in a campaign by Mom Central Consulting on behalf of Brother P-Touch and received a product and gift card to facilitate my review and a promotional item to thank me for taking the time to participate.


More Stories
Homemade Gift Ideas From The Kids
Here’s How Our Gift Baskets/Platters turned out
Fall Decor Craft Ideas